
Ready to start developing Android apps? First you must install the official IDE (Integrated Development Environment) Android Studio.
Here is a tutorial I just created to get you started.
How to Install Android Studio
Android Studio is the official integrated development environment for creating Android apps for the Android platform. It was announced in 2013 during Google’s I/O conference. The best part about this software is it’s free! Android developers have been enjoying the stable version of this software since May 2014. It is based on JebBeans’ IntelliJ IDEA software and is available for Windows, Mac OS X, and Linux.
To install the software follow the steps below.
First, you must download Android Studio from http://developer.android.com/sdk/index.html.
Once the download has finished, locate and run the executable.
When you run the installer, click “Yes” or “Run” on any security windows that pop up. Afterwards, you should see the screen below:
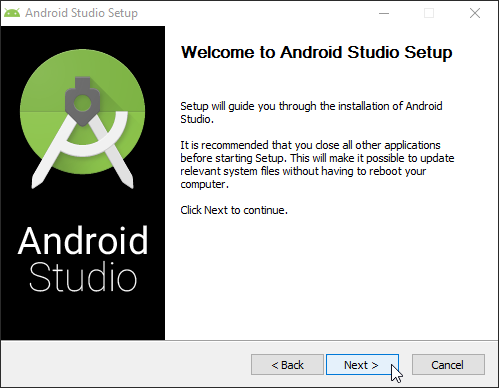
Click “Next” to continue.
You will be taken to the “Choose Components” screen. Make sure all check boxes have been checked and click “Next” just like in the screenshot below:
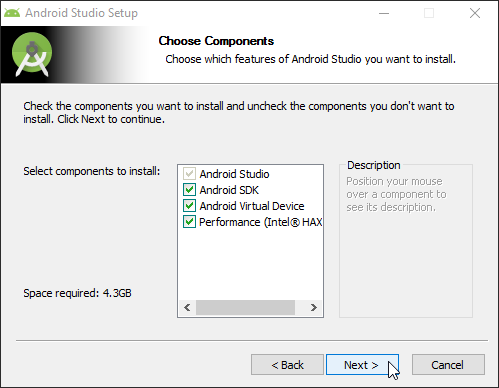
Installing Android Studio – Step 2
After clicking “Next” you will be taken to Android Studio’s first license agreement.
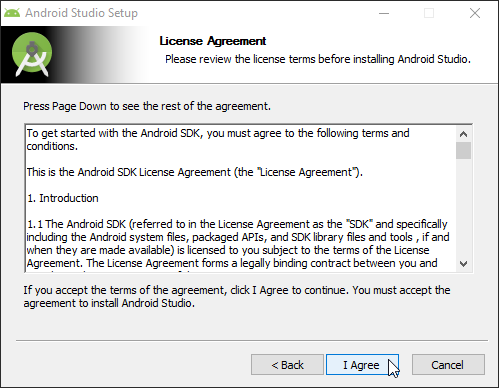
Installing Android Studio – Step 3
Click “I Agree” to be taken to Android Studio’s second license agreement.
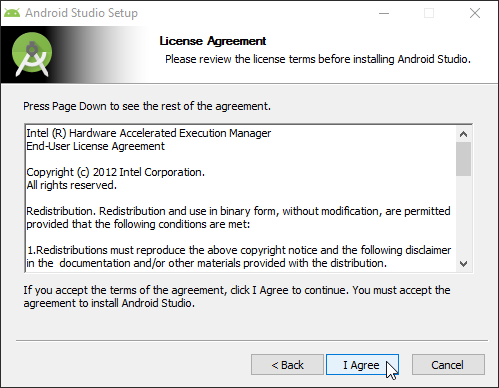
Installing Android Studio – Step 4
Just like the first license agreement, click “I Agree” to continue the installation.
Installing Android Studio – Step 5
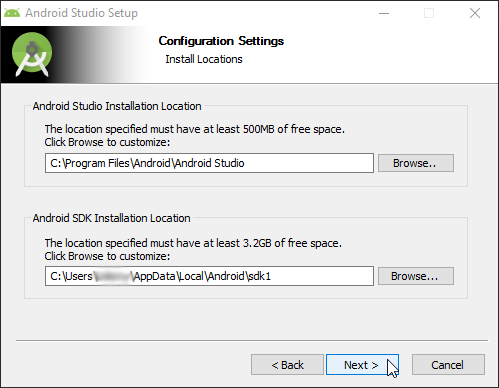
After agreeing to the second license agreement you will need to choose your install location. I recommend keeping the defaults and clicking “Next”.
Installing Android Studio – Step 6
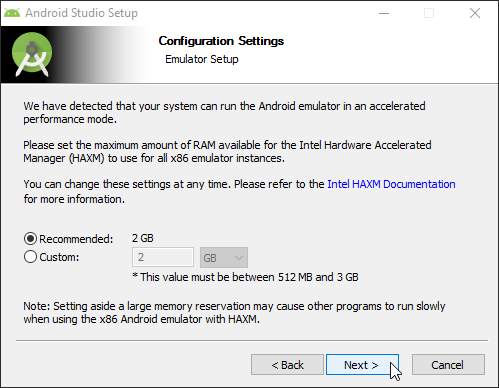
Depending on your system’s configuration, I usually recommend sticking with the “Recommended” value and clicking “Next”.
Installing Android Studio – Step 7
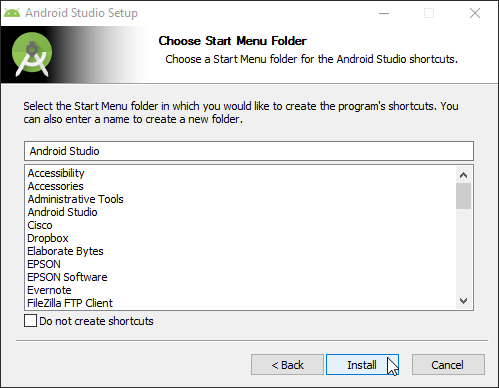
Select where you would like your shortcut to be placed within the Start Menu. I usually stick with the default and click “Install”.
Installing Android Studio – Step 8
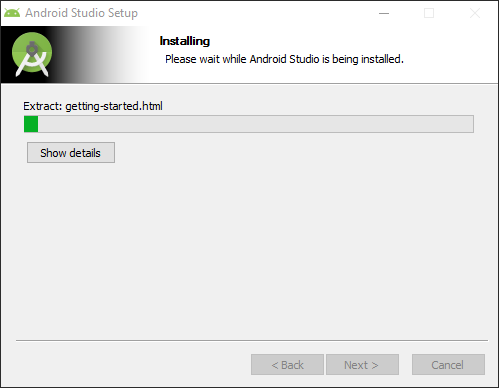
Android Studio will proceed to install itself.
Installing Android Studio – Step 9
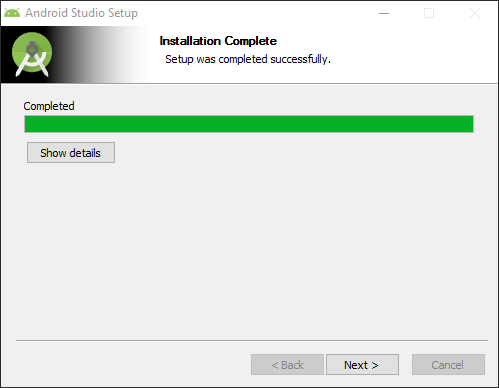
Once you see that the software installation is complete, click “Next” to continue.
Installing Android Studio – Step 10
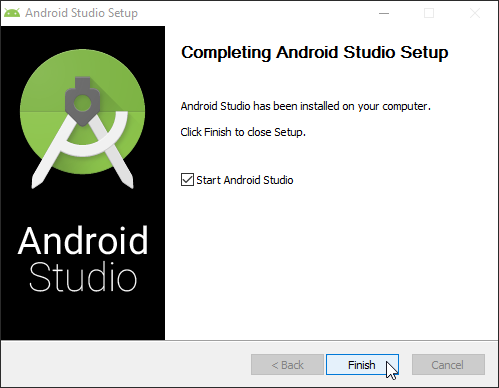
Finally, click “Finish” to complete the installation. Congratulations! You’ve installed Android Studio on your system! Stay tuned for more posts like this and don’t forget to sign up for my mailing list to be part of the first group of people to know about new content and special promotions. Let me know what you think in the comments!
Link to my channel: Jonathan Ingram | Android Development
Please subscribe! 🙂
Other Social Media Sites
Twitter – Jonathan Ingram | TWITTER
Facebook – Jonathan Ingram | FACEBOOK
Instagram – Jonathan Ingram | INSTAGRAM
GitHub – Jonathan Ingram | GITHUB
LinkedIn – Jonathan Ingram | LINKEDIN